How to Hang String Lights in Classroom | An 8-Step Process
Are you looking to add some personality and brightness to your classroom? String lights are a great addition! With today’s LED options and battery-operated sets, you have many more options than you could ever imagine. The use of string lights in a classroom is very versatile.
However, not all string lights are the same. Some string lights are better suited for classroom use than others due to certain features. A classroom can make good use of string lights by hanging them in these ways.

How to Hang String Lights in A Classroom?
String lights are necessary for classrooms for several reasons. The best string lights can help create a festive, stimulating classroom environment that promotes learning and creativity. String lights can also create a more comfortable and inviting classroom atmosphere by improving the overall ambiance.
For ambient lighting in their classrooms, teachers use string lights. Fairy lights with dimmers, LED strip lights, and LED string lights are available. Depending on the holiday or the mood you want to set in your classroom, you can change the colors of many lights. Your school’s block days can determine the colors. For an interactive atmosphere in your class, you can let students choose a different color each day.
The Following Steps Will Help You Hang String Lights in Your Classroom
You can hang string lights around classroom windows, whiteboards, and ceilings. You can hang string lights in your classroom by following these steps. Let’s get started.
Step 1. Make a Good Plan
Make sure you have a tape measure, paper, and pencil. Lay out your patio on paper, and label it with some basic measurements. If there is an outlet or power source nearby, and if there are trees or structures nearby, include them.
Step 2. Measure Classroom
Measure your classroom and choose the distance between your lights. You will need a tape measure to determine the width and length of the room where you want to hang your lights. When you know the dimensions, decide how far apart you want your anchor points to be on the ceiling.
If you place them closer together, you’ll need more lights, but your room will be brighter. Space your lights 2–3 ft (61–91 cm) apart if you want soft lighting throughout your room. It is possible to purchase string lights at home design stores and hardware stores.
Step 3. Hang the First Hook
Put the first hook near the outlet you’re using on your ceiling. If you want to attach a small hook or sticky clip to your ceiling without damaging it, look for small removable adhesive clips. Directly above your power outlet, place the first hook for easy plugging. For 30 seconds, remove the adhesive backing from your clip and press it onto the ceiling.
Try running the string lights down a corner of your room or using an extension cord if you want them to stay on your wall. If you have a popcorn ceiling or a more permanent lighting solution, get clips you can nail into it. Rather than placing the hook on the tiles of a drop ceiling, place it on one of the supports.
Step 4. Install The Hooks
Place the hooks along the edge of your ceiling. Install the rest of your hooks along the wall at the distance you chose earlier. Ensure the adhesive backing is securely adhered to your ceiling by holding it in place for at least 30 seconds. So you have even spacing between your hooks, start with the first hook and work your way out.
Step 5. Offset The Hooks
It will help if you offset the hooks on the other wall by half their distance. It would help if you lined up your first hook with the point opposite your first hook. Instead of placing your hook parallel to the one on the other side of the room, move it half as far away.
Consequently, your ceiling will have a zig-zag pattern. Install the rest of the hooks along the ceiling as you work toward the edges. You should offset your hooks on the other wall by one foot (30 cm) if you are spaced 2 feet apart on one wall.
Step 6: String lights Tightly
Between the hooks, string the lights tightly. It would help if you started from the hook nearest the outlet. Follow the lights across your ceiling to the other side. Coil the string once around a hook when you reach a hook. Cover the entire ceiling in a zig-zag pattern. Rather than pulling your lights tight, let them hang down slightly from the ceiling for a more relaxed look.
Step 7. Outline Your Ceiling
Make sure you place hooks every 2 feet (61 cm) around the edge of your ceiling. Hang your lights with adhesive-backed cable hooks to avoid damaging your ceiling. For 30 seconds, press the hook onto the ceiling until it is secure. Keep adding hooks around your room at intervals of 2 ft (24 in). Clips that nail into your ceiling are also an option if you have a popcorn ceiling.
Step 8. Start Hanging Lights
Hang your lights above an outlet or in a corner. The length of the string you need to hang down your wall depends on how much you plug your lights into the outlet. Consider running your lights down the corner of your room and to an outlet if you want them to be more discreet. Connect the string lights to the first hook and coil them around. Some of your string lights will likely hang down into your outlet. Place them behind a dresser or furniture if you want to hide them.
Things to Consider for String Lights for Classrooms?
The use of string lights in a classroom is very versatile. However, not all string lights are the same. Some string lights are better suited for classroom use than others due to certain features. The following are some of the best string lights for classrooms:
1. Durability: A string light’s durability is one of its most essential features. A string light that breaks after only a few uses is the last thing you want. Make sure your string lights are made from high-quality materials and are durable.
2. Length: Length is also an essential factor to consider. If you want your string lights to reach all corners of your classroom, ensure they are long enough. A minimum of 25 feet is the ideal length for string lights.
3. Brightness: Lighting your entire classroom with string lights is essential. Choose string lights with a minimum brightness of 100 lumens.
4. Power Options: It’s also important to consider the power options available for your string lights. Some string lights require batteries, while others plug into an outlet. Depending on your classroom setup, choose a power option that is most convenient for you.
What is The Best Place to Hang String Lights in Your Classroom?
It is possible to hang string lights around classroom windows, whiteboards, and ceiling panels. Here are some examples of classroom areas that can have string lights.
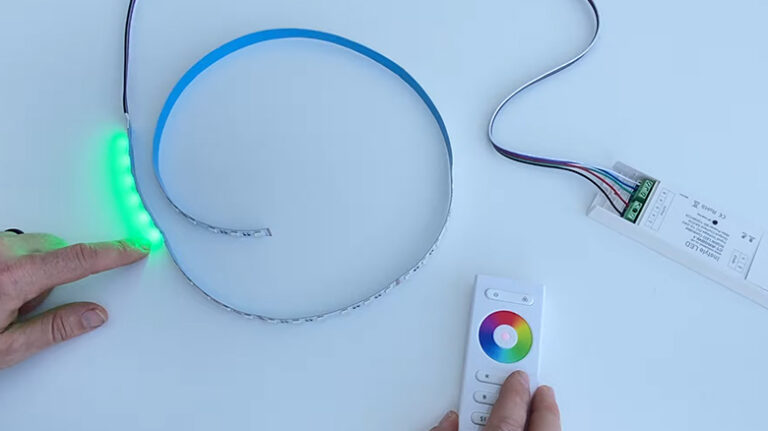
From The Ceiling: Adding string lights to the classroom ceiling creates an exciting atmosphere. There is a remote control and a dimmer on these LED fairy lights.
Whiteboard Area: LED strip lights will make your whiteboard and adjacent bulletin boards glow beautifully.
Bulletin Boards: There are twinkling lights on the front and different kinds around the edges of this illuminated bulletin board.
Frame Window: Metal frame windows in classrooms are usually magnetic. You can hang string lights around the window frame using magnetic hooks.
Frequently Asked Questions
How Do You Hang String Lights Indoors?
The most secure way to attach a wall is with a hammer and nails. Using string lights, drape them over a protruding nail on the wall. It should be enough to support the weight of fairy lights with a thumbtack.
How Do I Hang Outdoor String Lights Without Nails?
You can hang string lights on your patio cover without nails by using outdoor Command hooks, zip ties, awning hangers, or Alumahooks. Punching holes in your aluminum patio cover is possible, but you can avoid damage altogether if you go nailless.
Can I Use Tape to Hang String Lights?
If the walls aren’t white, tape the strands to them with wall-safe tape. Sometimes, you might only need tape every five or six lights or between each light or every two lights, depending on how heavy the strands are.
Conclusion
This post is exactly what you were looking for. We have covered some unique, different, and popular string lights that can fill a classroom with fun, joy & of course, light.
In general, sunlight is the best source of light for studying, but if you have to choose warm light, it is always a good option as they are more relaxing & creates a welcoming environment. When selecting between incandescent, halogen fluorescent, or led lights, led lights are the best option since they consume less energy and do not flicker.