How to Seal LED Light Bar? Just 4 Steps Away!
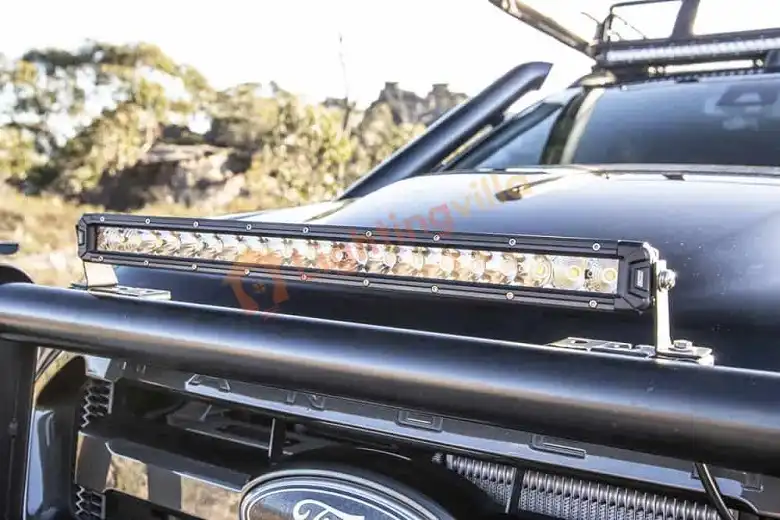
Almost every light bar is filled with water or condensation after you purchase it. Lower-end LED light bar companies often have this problem. 3/16 inch stainless steel screws are inserted every half inch to seal the light bar completely. In LED lighting, 3/16 stainless steel screws are preferred due to their anti-corrosive properties. The LED light bar also utilizes a patented military breather that prevents condensation.

Is it Possible to Seal LED Light Bars? How?
Water, condensation, or moisture behind the light bar lens can indicate either of two things. When there is a thin layer of mist inside the lens, condensation will naturally occur (no streaks or large droplets).
In simple terms, condensation is the change from a gaseous form of water to a droplet form inside the lens. It does not indicate that the product is defective, as it is a common problem. We seal some air inside our headlights or light bars during manufacture and mix in small amounts of gaseous water. When the outside temperature is lower than the inside temperature, moisture inside the lens becomes small water droplets due to the heat generated by the LEDs.
Using the better method of sealing your light bar will void your manufacturer’s warranty. It doesn’t matter if it’s a cheap LED light bar. You can apply a sealant to the components’ mating surfaces, including the lens and the front & back housing, by disassembling your light bar. By reading this article, you can learn more about condensation and try effective methods.
The following steps will help you seal the LED Light bar.

Step 1. Turn on Headlamps or Light Bars
Temperature, weather, and humidity play a significant role in condensation. For the first few hours, you can turn on the headlamps or light bars to let the heat generated by the LEDs evaporate the moisture.
Step 2. Put Light Bar Under Direct Sunlight:
For quicker evaporation, put the light bar or headlight under direct sunlight or any dry and warm place if the weather is cool or the heat is insufficient.
Step 3. Clean, Dry, and Use Silicon Spray:
First, clean and dry all surfaces you will use a silicon spray on before using it. Double the shaking you would do with a spray paint can ensure that the LED Seal can is completely sealed.
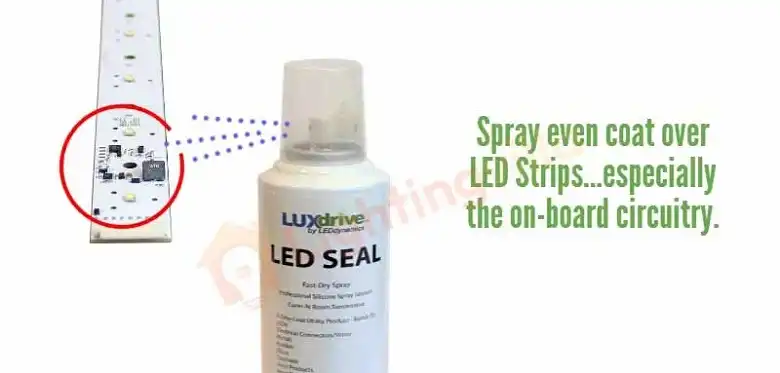
Step 4. Completely Dry and Stick Free:
After shaking and preparing the can, remove the cap. Hold it 6″ to 8″ from the surface you spray. Let all LEDs and circuits dry after spraying a good even coat. In about 8 minutes, the product masks are stick-free for 15 minutes and completely dry in 30 minutes.
Important Notes: You need to send the whole light for repair if you see streaks, drips, or large droplets inside the lens, like in the photos below. It’s okay if you bought a reasonable LED light bar or LED light cube and you’re here because you still have hope, don’t worry. Extra sealant can be applied where the lens meets the housing and the front housing meets the back housing of the light bar.
Frequently Asked Questions
How Do I Fix Moisture in LED Light Bars?
For quicker evaporation, put the light bar or headlight under direct sunlight or any dry and warm place if the weather is cool or the heat is insufficient.
Can I silicone over LED lights?
Yes. For LED strip connections and wiring, silicone sealant or silicone rubber is a much better filler than epoxies. The LED strip connection points (+/- or RGBW or RGB) are safe and non-conducting, so short circuits will not occur.
How Do I Make My LED Lights Waterproof?
Apply a generous silicone spray coating along the entire length of indoor LED strips if you want a quick and easy solution. If you are mounting it indoors, let it dry first.
Conclusion
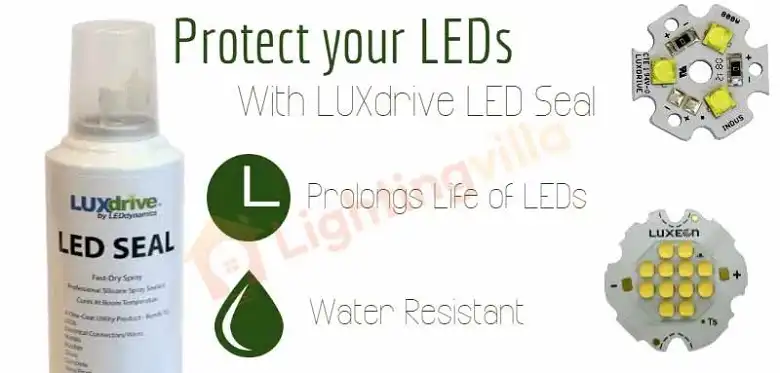
Using LEDs and their components for various applications can be expensive compared with other lighting applications. Protecting your LEDs and circuitry is extremely important to ensure your investment lasts for a long time. Contact a professional if you have tried all the above methods and still can’t remove the condensation on your LED light bar or seal it.