How To Fix A Blown Light Bar
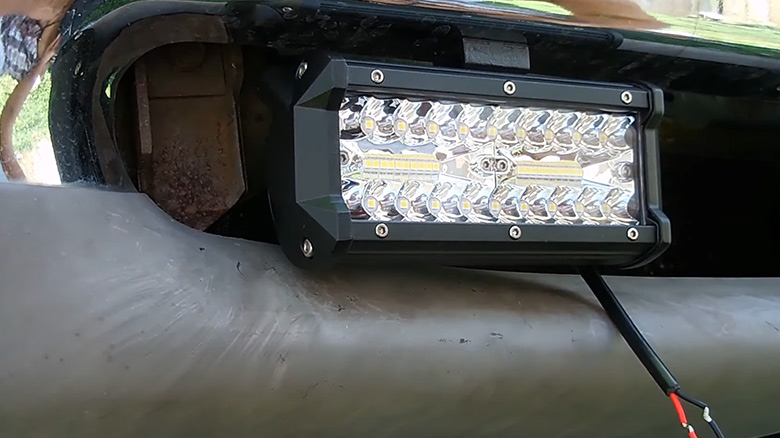
We know how problematic it can be to drive at night while coming from work or go on a night trip with a damaged or faulty light bar. It doesn’t serve the purpose for which you have installed a light bar in the first place on your vehicle. And fixing a defective light bulb from a professional mechanic can sometimes cost you more than what you paid for the actual light.
That’s why we thought of putting a thorough article describing all the necessary steps to fix a blown light bar. By setting it on your own, you are mainly saving your repair cost.
So spend a few minutes to give a thorough read to this article and save your hard-earned dollars!
What Would Cause A Light Bar To Stop Working?
Before you fix the problem, you have to identify it first.
There are many reasons why your light bar might have stopped working or blown away. But there are two common problems that even most experienced mechanics miss.
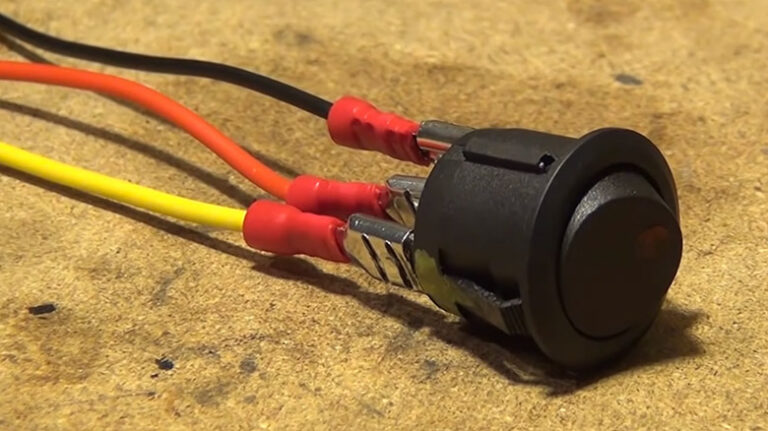
One: If the connecting wires between the battery and light bar are substandard or aren’t adequately rated for use, the wire can create a spark after some wiring time, thus causing a short circuit in the light bar, and perplexing you in the middle of the road.
Two: Sometimes, the light may blow away because the ground connection isn’t properly managed or wired. The ground connection ensures power by connecting the electrical devices with the battery’s negative. And the connection goes via the engine, chassis, or sometimes the battery. So if the connection is faulty, there is a chance of causing your light bar to blow away.
How Do You Fix A Burnt Light Bar?
Now, how can you fix the burnt light bulb right?
Here are the most simple steps to follow.
But before that, make sure you have these tools in your hands.
- A flat head and Philips screwdriver.
- A vice grip for a perfect hold of anything.
- Soldering iron will help you to attach any wire to the circuit board.
- Solder wick and a drill.
- Lastly, a 5mm LED of your preferred color.
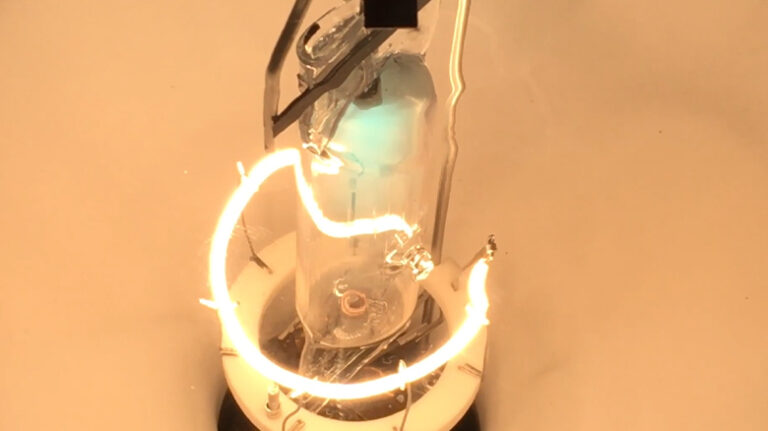
Step One: Identify The Reason For Blowing The Lightbulb.
When a few LEDs or the whole LED light panels of your light bar are blowing, identify the placements of the light bulb. There are four pins in both ends of the lead. You must ensure that any two points are not connected through screws or metal objects.
If this is why the LEDs are blowing, you can skip to the third step. But if you want to replace the LEDs with something else, follow the next.
Step Two: Disabled The Terminal And Install New LEDs
You can skip this step if you find your light bar intact and wish to add LEDs. But continue only if the bar is broken due to the metal objects or screws or bolts.
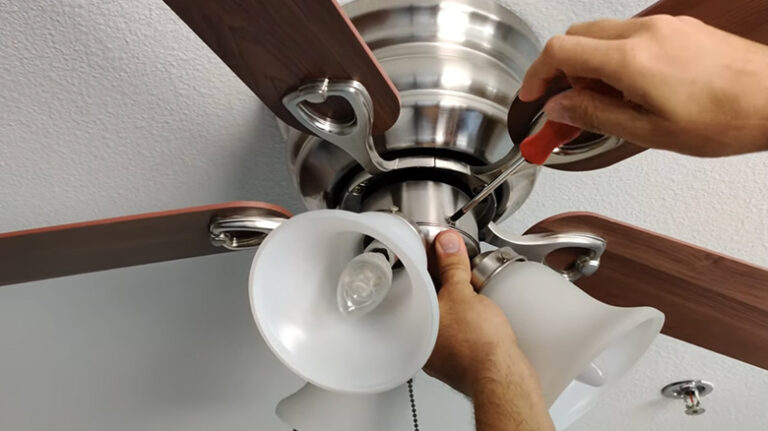
Remove the screws that keep the thin plastic base of the lights in place. Right after that, pry the two black plastic housing on both ends. While doing so, ensure you are holding them with a vice grip.
Now the careful part. Slide the screwdriver under the faulty LED and make it pop out easily with a gentle upward press. Now install the 5mm LED that will fit in the housing of your original light bar. Finally, find the perfect LED size for the best fit into the base of the light bar.
Now take a standard-rated wire and strip out its one end. Find the negative and the positive ones and solder them accordingly on the LED with a good amount of solder for better connectivity.
When you are done building your circuit, place the LEDs into the housing and turn on the switch. Be cautious with the exposed wire while examining the lights.
Step Three: Connecting The Other Set Of Terminals
If the light bar is blowing due to the touch of metal objects and bolts, it is preferred that you must solder anything in place of the LEDs. To do that, strip the wires from either end about half an inch and solder one of the ends on the screwdriver’s tip and the other on the zip tie. It won’t matter which lot goes onto what. Because any positive will surely make the light turn on.
Right after connecting the wires with the solder, ensuring well-established connectivity, put them into their housing. While doing that, ensure that LED sticks out a little before you snap it shut.
Now it’s time to hit the switch without touching the exposed wire. If the LED shines bright as before, tape the exposed wires and place them accordingly.
Frequently Asked Questions
How Can I Tell If A Light Bar Is Terrible?
Basically, the light bar itself depicts its condition of it. Sometimes you see the LEDs in the light bar are not evenly lit. Some have standard brightness levels, and some are dim. Sometimes only half o the LEDs lighten up. Another common problem is that the light bar is terrible when the LEDs flash more often instead of providing a stable brightness.
Why Does Only Half My Led Light Bar Work?
Many reasons can cause this problem. Maybe it is caused by static electrical damage, or somehow the LED strip has been bent and twisted so many times, or the solder joint is dry. And lastly, there is a possibility that the LED strip is cheap and substandard in quality.
Is It Possible To Fix Burned Out Lights?
Basically, the burned-out lights are not repairable. So it’s better if you can replace the burned-out lights. Sometimes you might require to repair some other parts of the light bar or the wire connection, depending on the degree of burn. If that doesn’t work, seek professional mechanics.
Conclusion
Fixing a light bar may take some effort from your side, but you are not just saving your money through this. You are saving your time at the time of your emergency when you find the blown away light all of a sudden while going to work.
Our article describes everything you need to know when you have decided to fix your blown light bar. But if the problem seems out of hand, seek a professional.