How to Take Apart a Bushnell Rechargeable Flashlight?
Bushnell Rechargeable Flashlights are different because there is no incandescent bulb in them. Bushnell Rechargeable flashlights have electronic circuits that regulate electricity so that overloads don’t occur. You can take apart a Bushnell Rechargeable flashlight to use the parts for a science project requiring a soldering iron to separate the circuitry from the Bushnell Rechargeable. You should only use a soldering iron if you feel comfortable using one with a steady hand.

What is The Best Way to Take Apart a Bushnell Rechargeable Flashlight?
Bushnell rechargeable flashlights are essential to any toolbox, emergency kit, or kitchen drawer, so you should know how to take them apart. Bushnell rechargeable flashlights are important as prepper gear because, as you are already aware, they are brighter and more potent than regular flashlights.
When a current flows through it, a Bushnell rechargeable flashlight emits light. Therefore, you can rely on it to move around in the dark for extended periods because it consumes less energy and produces stronger light. What will you do if your Bushnell rechargeable flashlight suddenly stops working? Then it is necessary to take apart a Bushnell rechargeable flashlight. In this tutorial, we will take a Bushnell rechargeable flashlight apart step by step.
Step 1. Remove the Battery Compartment
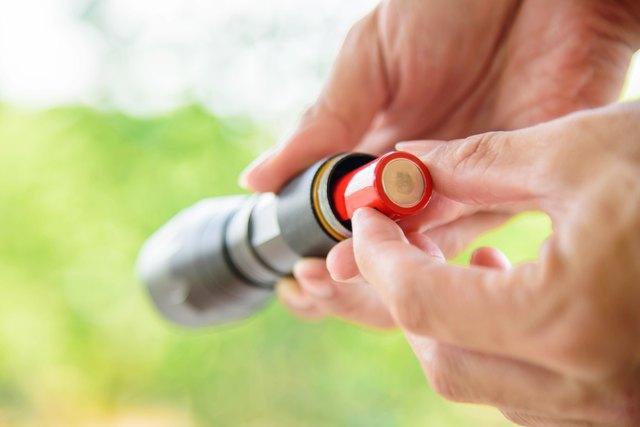
Place the newspaper on a work surface. Removing the battery compartment cap from a Bushnell Rechargeable Flashlight is necessary. Take the batteries out of the battery compartment and place them aside along with the battery compartment cap.
Step 2. Take Hold of The Front and Separate
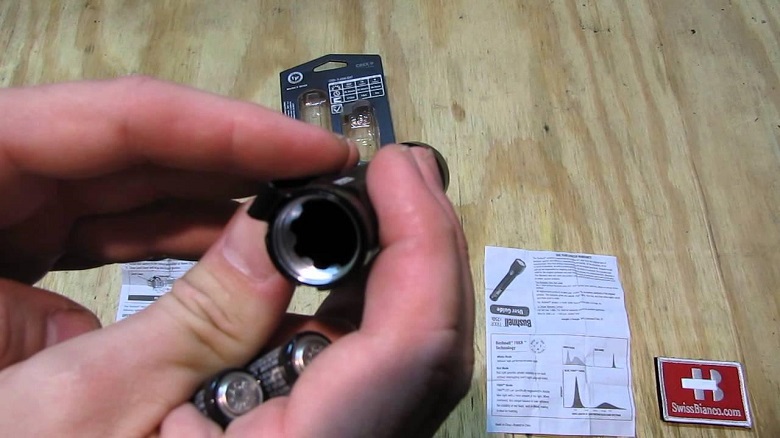
Handle the Bushnell Rechargeable Flashlight with one hand. With needle-nose pliers, grab the front end of the Bushnell Rechargeable Flashlight. Use the needle-nose pliers to twist the Bushnell Rechargeable Flashlight seam until it cracks. Don’t use needle-nose pliers. Turn the Flashlight on its side until the front and back separate.
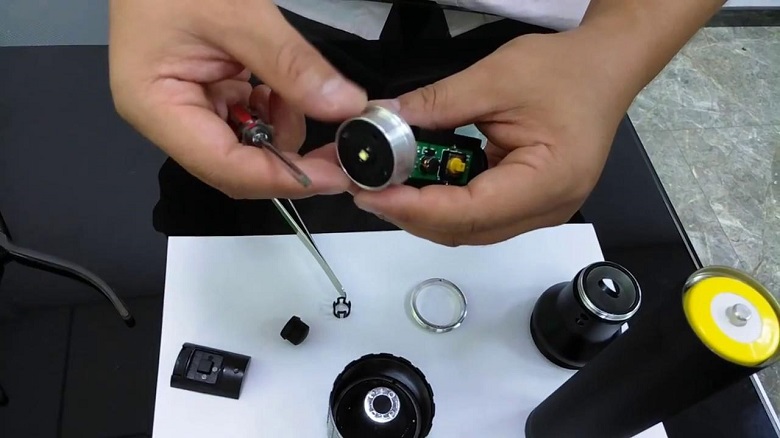
Step 3. Unscrew Reflector from The Front
Place the back half of the Bushnell Rechargeable Flashlight on the newspaper. Disassemble the Bushnell Rechargeable Flashlight and remove the reflector. Place the reflector on the newspaper after removing it. Using the tweezers, remove the reflector ring surrounding the Bushnell Rechargeable Flashlight bulb.
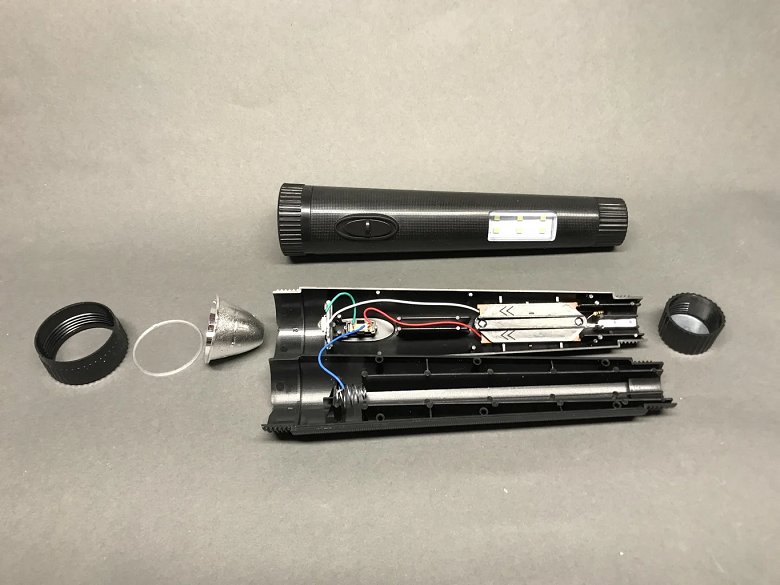
Step 4. Remove the Assembly from the Front
Remove the assembly from the front half of the Bushnell Rechargeable Flashlight flashlight. Lay the Bushnell Rechargeable Flashlight assembly on the newspaper.
Step 5. Soldering Irons Need to Be Heated Up
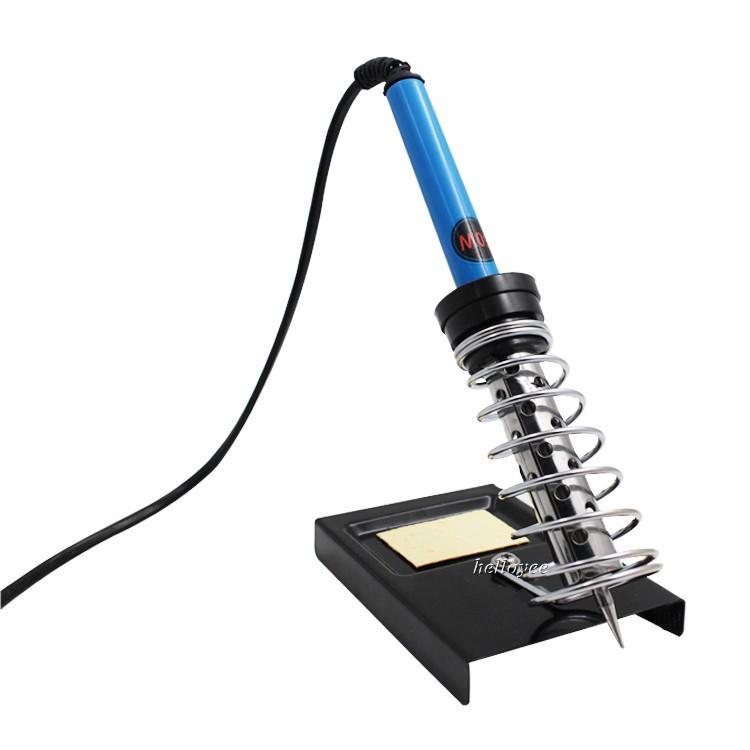
Prepare the soldering iron by heating it. Solder the Bushnell rechargeable flashlight bulb’s contacts with the tip of the soldering iron. If the solder on the contact bubbles, remove the soldering iron. To remove the solder from the flashlight bulb’s other contact, apply the soldering iron’s tip when the solder starts to bubble.
Step 6. You Will Need to Use Tweezers
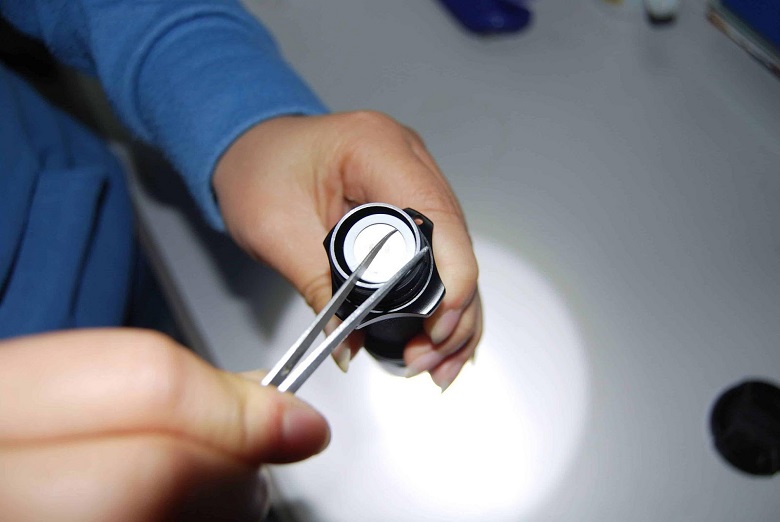
Using the tweezers, grasp the sides of the Bushnell Rechargeable Flashlight bulb while holding it down with one hand. Use the tweezers to remove the Bushnell Rechargeable Flashlight bulb from the Bushnell Rechargeable Flashlight assembly. Place the Bushnell Rechargeable Flashlight bulb on the newspaper.
Step 7. With Tweezers, Remove Resistor

When the solder begins to bubble, remove the soldering iron from the resistor’s contact. Follow the same procedure on the other resistor contact. With tweezers, remove the resistor from the Bushnell Rechargeable Flashlight assembly. Print out the newspaper and place the resistor on it. Remove the soldering iron from the socket.
How do You Repair Your Bushnell Rechargeable Flashlight?
What is the best way to repair a Bushnell rechargeable flashlight? Whenever you experience problems with your Bushnell Rechargeable Flashlight, your first instinct may be to check the batteries. A flashlight that isn’t turning on or lacks light may require a battery change. Check the battery to see if there is still enough charge.
Check the batteries for leaks as well. When you find leaks in batteries, dispose of them properly. A battery will leak if you don’t use your flashlight for too long. This video can teach you how to fix a Bushnell Rechargeable Flashlight.
Frequently Asked Questions
How Does a Rechargeable Flashlight Work?
The most common power sources for modern flashlights are rechargeable and non-rechargeable batteries. The power source then makes contact with a switch usually located on the rear part of the flashlight. The button will allow the power source to make a complete circuit to the light source, thus giving power to the flashlight.
How Do You Fix a Flashlight That Won’t Charge?
Check the USB port to ensure no dirt or grime prevents the flashlight from charging. Try a new flashlight battery to see if this fixes the problem. Try out a new charging cord or adapter to see if the ones you used are faulty.
How Do You Maintain Rechargeable Flashlights?
It is usually best to do what is necessary when using rechargeable flashlights. Nevertheless, Fenix’s lithium-ion batteries feature protective circuits that prevent overcharging and shorten battery life. A good rule of thumb is to keep your battery at around 40% charge when in storage.
Conclusion
It would help if you took good care of your flashlight, but even the highest-quality Bushnell Rechargeable Flashlight may need repair from time to time. You can bring your Bushnell Rechargeable Flashlight wherever and whenever you like now that you’ve read our article on how to take it apart. They only require patience and precision, not a lot of complicated tools. Maintaining and repairing Bushnell Rechargeable Flashlights is essential since they are valuable.