How to Remove New Construction Recessed Lights Without Attic Access? (8 Steps)
Many people have new construction houses which are built with recessed lights in the ceiling. Sometimes they require to remove their recessed lights fixtures. However, sometimes removing new construction recessed lights became daunting due to not having attic access to get at them. So, if you want to do this task but don’t know how to remove new construction recessed lights without attic access, then the article is for you. Because in this article, I’ll go over the solution to help you.

What is the Procedure for Removing New Construction Recessed Lights without Access to the Attic?
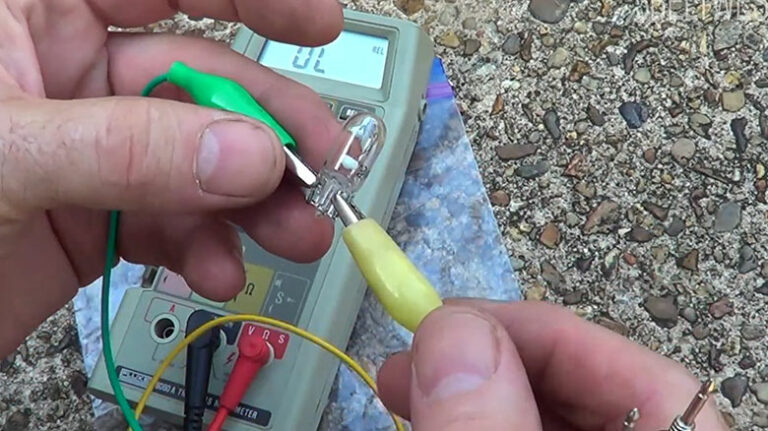
In general, the wires connect your bulbs from the light switch panel in the breaker panel or electrical box in your house so that the bulbs can work perfectly and stay lit properly. Therefore, arranging some supplies and tools before beginning the task is important. Below I’m providing the entire procedures that you have to do. So, let’s get started.
You need a drill, Phillips head screwdriver, tape measure, utility knife, and nail set. After arranging them, you may proceed with the following steps.
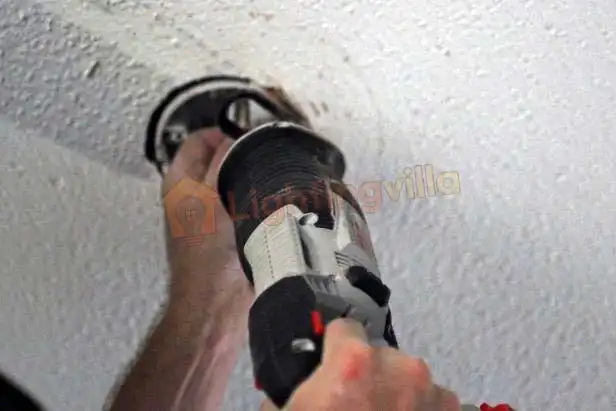
Step 1. Remove the Trim
Removing the trim around your light is the first task to access it. Sometimes you may have a small gap between the cover and the wall. Then you must use your utility knife to cut along the edge of the trim and remove it in addition. If you haven’t enough room for your fingers behind the trim, you should use a nail set to slightly tap down into that area to push it out of its small channel.
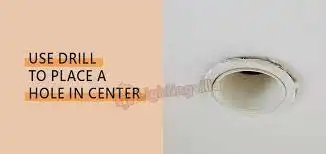
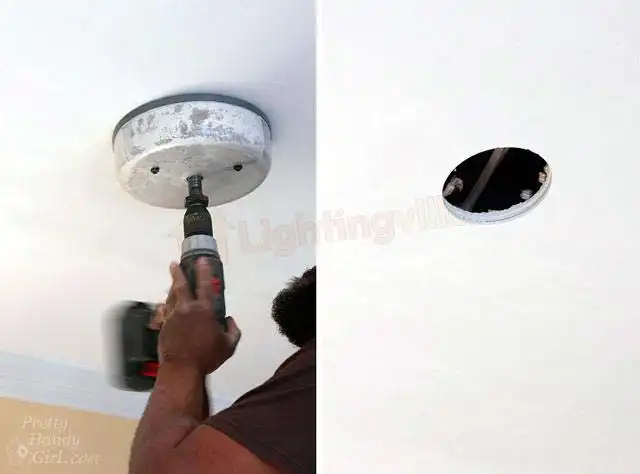
Step 2. Place a Hole
Now, place a hole in the center of your headlight lens with the drill. You must remember that the hole in the center of your headlight lens should be at about your eye level with where you stand. Again, the hole should be directly in your line of sight while looking straight ahead toward the work light. So, drill carefully and slowly so as not to crack your lens.
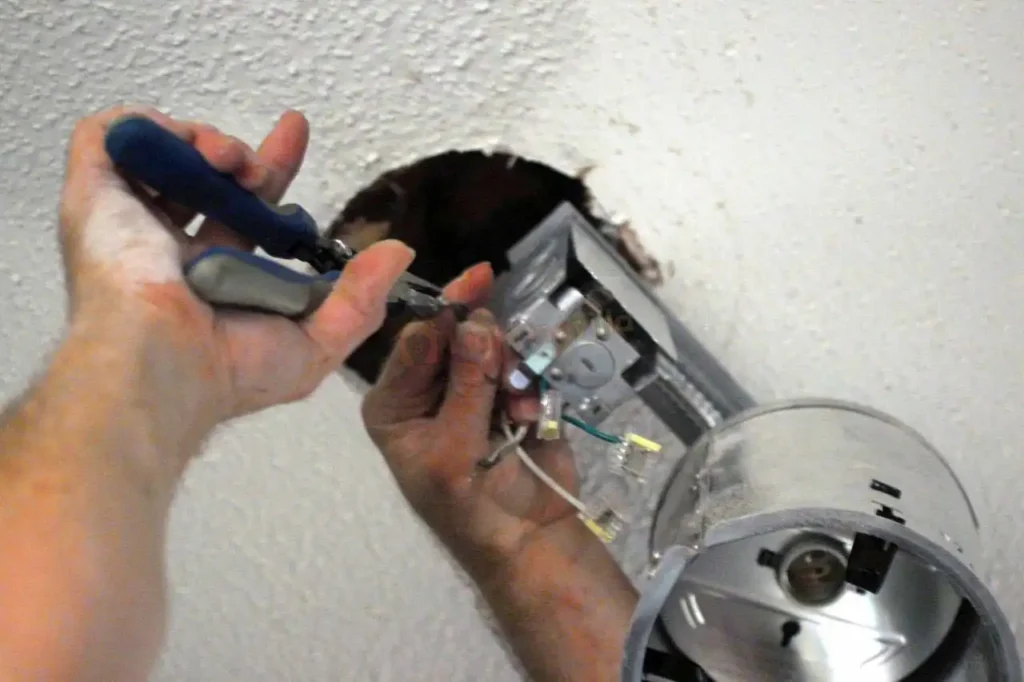
Step 3. Cut through the Web of Electrical Wires
Sometimes you can notice a joist or stud behind where the light was. So, you must follow the joist or stud until you find a web of electrical wires going into your wall. After that, cut through the web of electrical wires with a wire cutter. Again, you must continue following the joist or stud until they section off into individual cables that seem to be traveling directly under your missing light.
But if you fail to do so, you must continue cutting through your drywall until you get to the opening for the light. After that, cut along the edge of one of these openings with a utility knife. You can find that sheetrock hides inner wires. So, use a paint scraper or a flat pry bar to lift and expose the inner wires. However, you must do this on all three sides to make your hand fit behind.
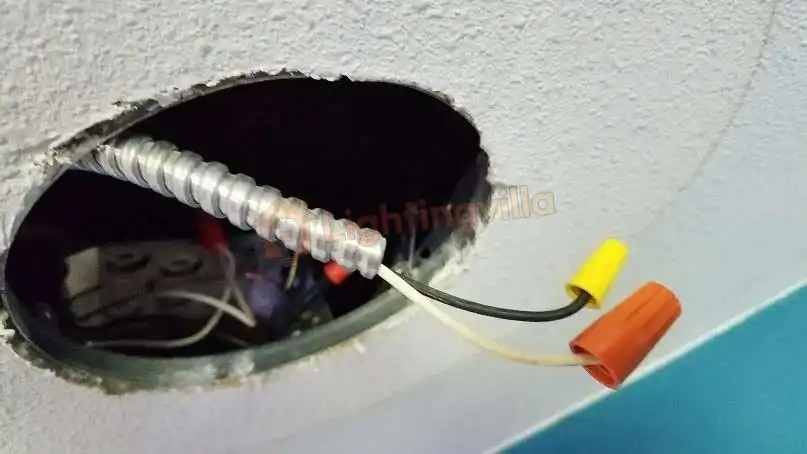
Step 4. Ensure the Deactivation of the Wires
It is important to unscrew the ground wire on the circuit, so there is no longer a full path to your light. After that, you must keep each of the wires still deactivated by using an electrical tester. So, leave all but one side of the circuit open.
After that, place a heavy-duty junction box in front of you. Then attach the heavy-duty junction box to the joist or stud by screwing through your drywall.
Step 5. Drill Holes in the Back Side of the Junction Box
It is time to drill holes in the back part of the junction box. After making holes, fit the box over the stud to flush against the pace where you are working. Remember that you should not fit the box too tight. If you make the fit so tight, it may easily break when you pull on it later. Then you must leave about 6 to 8 inches behind your working area to be used for wiring between the attic and junction box.

Step 6. Attach the Wires to the Work Light
Moreover, it is necessary to connect the junction box to the junction box to the junction box in the attic by using a long electrical wire. But if you have a joist or stud behind your work area, you must drill a hole and then pass this wire through to attach it to the work light.
After that, you must disconnect all remaining wires in the junction box and leave the wire hanging until the end of your project.
Furthermore, if you haven’t any room for these additional wires behind the place of your work light, you need to turn them away slightly from where you are working. This task will help you, and don’t get them in your way.
Step 7. Drill a Hole in Your Preferable Place
Now, the time is to drill a hole near the place where you want to place your lamp. In addition, you need to be sure that the wires don’t get tangled, so pass these wires through one at a time. But if you do not have enough space for all three, you can use an electrical tester to determine the perfect wire that is active and connected. Once complete, you must cover your junction box with insulation to make the box blend in.
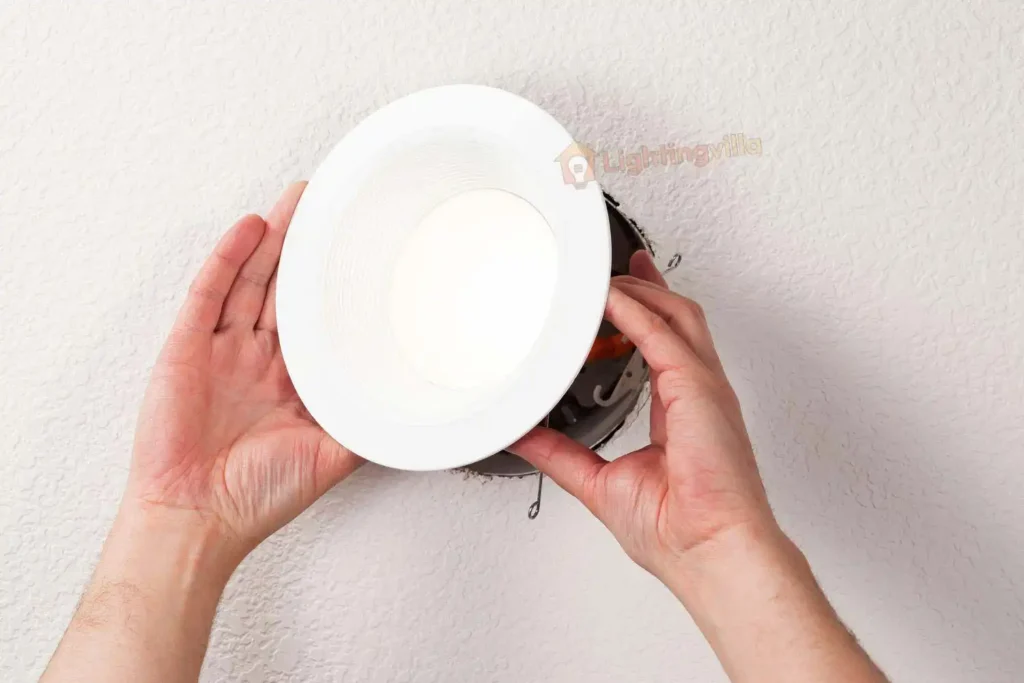
Step 8. Reattach the Materials Like Before
However, using a nail set to tap your bulb lens back into place over your new light is essential. If the cover fits thoroughly, it is okay because the trim can cover the lens when you have completed the task. So, you must reattach the trim and replace all the light plates, outlets, switches, etc., to where they were before.
You can watch a video to be more clear about the thing. So, I’m providing a video link to help you make your task easier.
Cautions to Follow
- You should not turn the power to your recessed lights on during the working period. Moreover, it is essential to use caution to remove the glass lens of your light fixture because the lens can break easily.
- Furthermore, you can use a shop vac when removing any debris. But remember that you should not use your household vacuum because household vacuum can create a large mess for powerful suction.
- YOu should not remove the insulation of your recessed light, and it is better to leave it in its place. Otherwise, you cannot cut back any protruding pieces covering the light fixtures.
- If you want to place multiple lights in an unfinished attic, you must first cut back or remove all insulation around your lights. After that, you should be careful not to break your glass lens.
Frequently Asked Questions
Has There Any Alternative to Recessed Lighting?
Yes, there are many alternatives to recessed lighting. These alternatives can make a home look as amazing as one wants. However, you can use modern semi-flush ceiling lights as an alternative to recessed lighting. On the contrary, it is okay to add styles like pendant lights, disc lights, track lights, and tube lights as alternatives to recessed lighting.
Where Should I Not Put My Recessed Lights?
You should not put your recessed lights in places where the light fixtures are too close. In addition, you should not put the recessed lights in rows down the center of your room. If you put the lights in these places, the lights can have the look of an airport runway. Again, you should match the size of the recessed lighting fixtures to their spacing.
What Is the Difference Between recessed light and Downlights?
There are no basic differences between recessed lights and downlights because recessed lights and downlights are the same things. Moreover, you can say a recessed or downlight is a can light. However, these are a type of lighting fixture installed into your wall or ceiling. Furthermore, manufacturers flush these lights with the surface for a polished and sleek finish.
Conclusion
When you have a large room and do not have enough recessed lights, you should not use them because it is essential to have a lot of recessed lights to completely light a large room.
However, recessed lights allow you to have a stylish and modern vibe in your room. But there are also some drawbacks to recessed lighting fixtures. Sometimes, your recessed lighting fixtures may leak air. In addition, the light can gain or sometimes lose heat between your living place and the attic. Furthermore, it can make your HVAC (Heating, Ventilation, and Air Conditioning) system work harder and cause energy losses. Again, the recesses lights can use more energy at a time.